All Dutch priority signs (B series): who goes first?
Priority signs are the B series and they settle the most important question at every junction: who goes first. There are only 9 of them, and once you know them you never have to guess at a junction again.
Right of way is given, not taken
The signs override that basic rule. If you are on a priority road, crossing traffic waits for you. If you see give-way lines, it is the other way round. And the stop sign does something no other sign does: it makes you come to a complete stop, even when nobody is coming.
What the signs do not do is protect you. If the other driver does not slow down, you still have right of way and you still have a collision. That difference between being in the right and being safe is a category of exam questions of its own; the whole system is in Right of way: the complete system.
All 9 priority signs
Jump to: B1 · B2 · B3 · B4 · B5 · B6 · B7 · F5 · F6
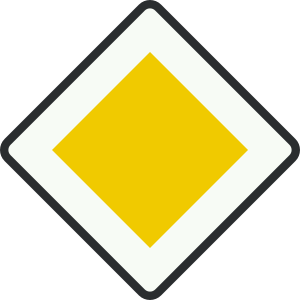
B1 — Priority road: you are on a priority road and have right of way over all crossing traffic.
Memory hook: Picture the yellow diamond as a king's crown balanced on its point: you're the royal of the road, and every crossing car must bow and wait.
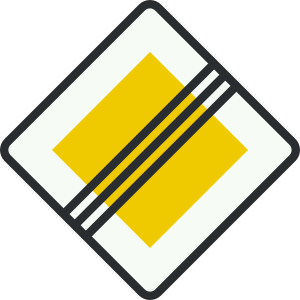
B2 — End of priority road: the priority road ends; from here normal priority rules apply again (e.g. priority to the right).
Memory hook: The diagonal stripes through the yellow diamond cross your priority OUT: the priority king is dead, so the guy on your right rules again.
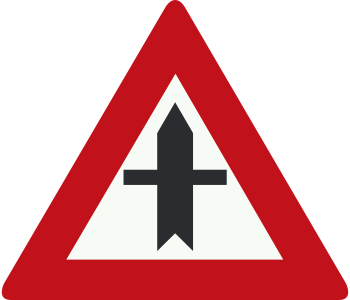
B3 — Priority crossroads: you approach a crossroads with side roads on both sides where you have right of way.
Memory hook: The thick black road runs straight through the red triangle, the side roads left and right are thin: you are on the wide road and go first.
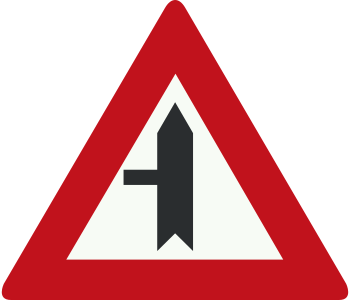
B4 — Priority intersection, side road to the left: junction with a side road on the left where you have priority over traffic from that side road.
Memory hook: Thick road straight up the red triangle, a thin little side road on the left: that side road must wait for YOU.
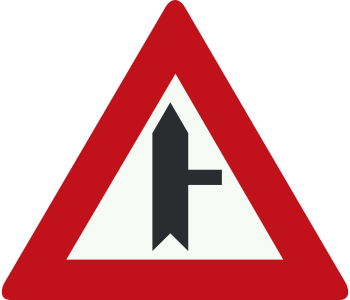
B5 — Priority intersection, side road to the right: junction with a side road on the right where you have priority over traffic from that side road.
Memory hook: Thick road straight up the red triangle, a thin little side road on the right: even from the right, that traffic must wait for you.
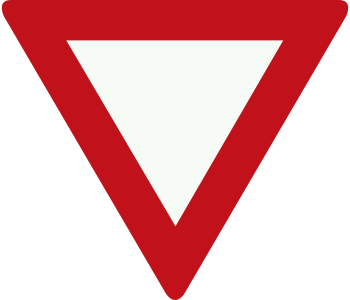
B6 — Give way to drivers on the intersecting road: inverted triangle; you must yield but only need to stop if there is crossing traffic.
Memory hook: The upside-down triangle is a funnel pouring your right-of-way down to the other driver: let the crossing traffic go first.
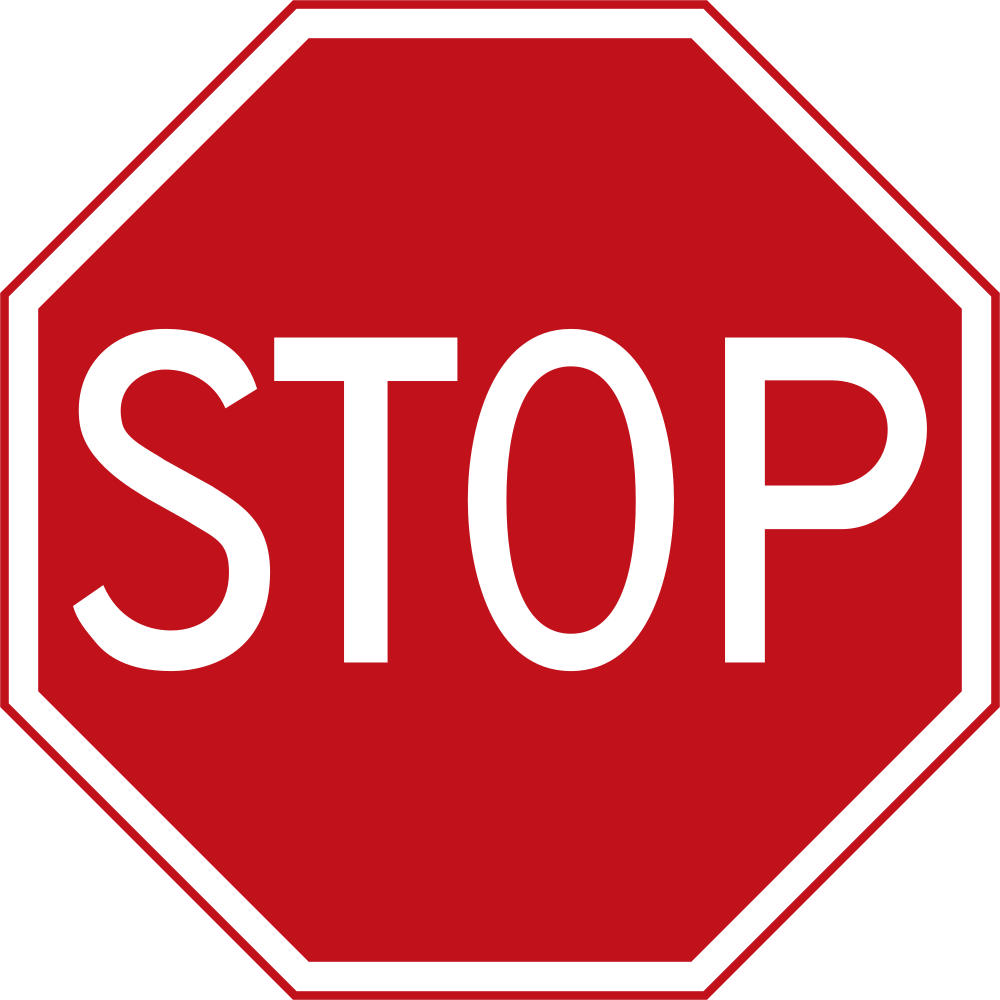
B7 — Stop; give way to drivers on the intersecting road: you must always come to a full stop before the stop line and then yield.
Memory hook: The red octagon is a clenched fist yelling STOP, freeze fully at the line, and only crawl on when the crossing road is clear. Eight sides, zero excuses.
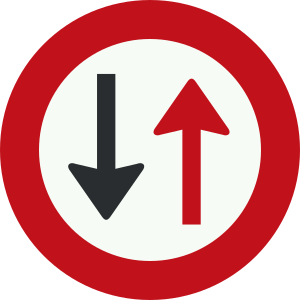
F5 — Drivers must give way to oncoming traffic (do not proceed when oncoming traffic approaches)
Memory hook: The red arrow bows to the black one: 'red must brake and wait its turn' - oncoming traffic goes first, so you hold until they pass.
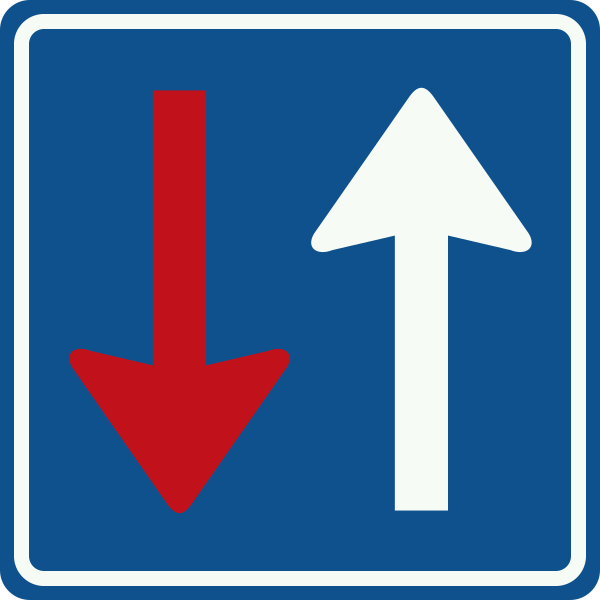
F6 — Priority over oncoming traffic; oncoming drivers must give way to you
Memory hook: The big white arrow pushes the small red arrow aside: you may go, oncoming traffic waits politely.
Cyclists, trams and the exceptions
A cyclist is a driver too, so priority from the right applies to cyclists as well. The tram has a position of its own and almost always goes first, even from the left. And an emergency vehicle with flashing lights and a siren goes before everyone. Those three exceptions come up in the exam more often than the signs themselves. There are animated examples in the animated right-of-way quiz.
Want to practise? Try the free questions on road signs and markings, with an explanation for every answer.
Practise this with 2,609 questions and 19 animations
Rijtheorie Hub practises exactly like the CBR exam: 50 questions, 30 minutes, pass with 44. Free to try, in 12 languages.
Download free